High Frequency Reciprocating Rig (HFRR)
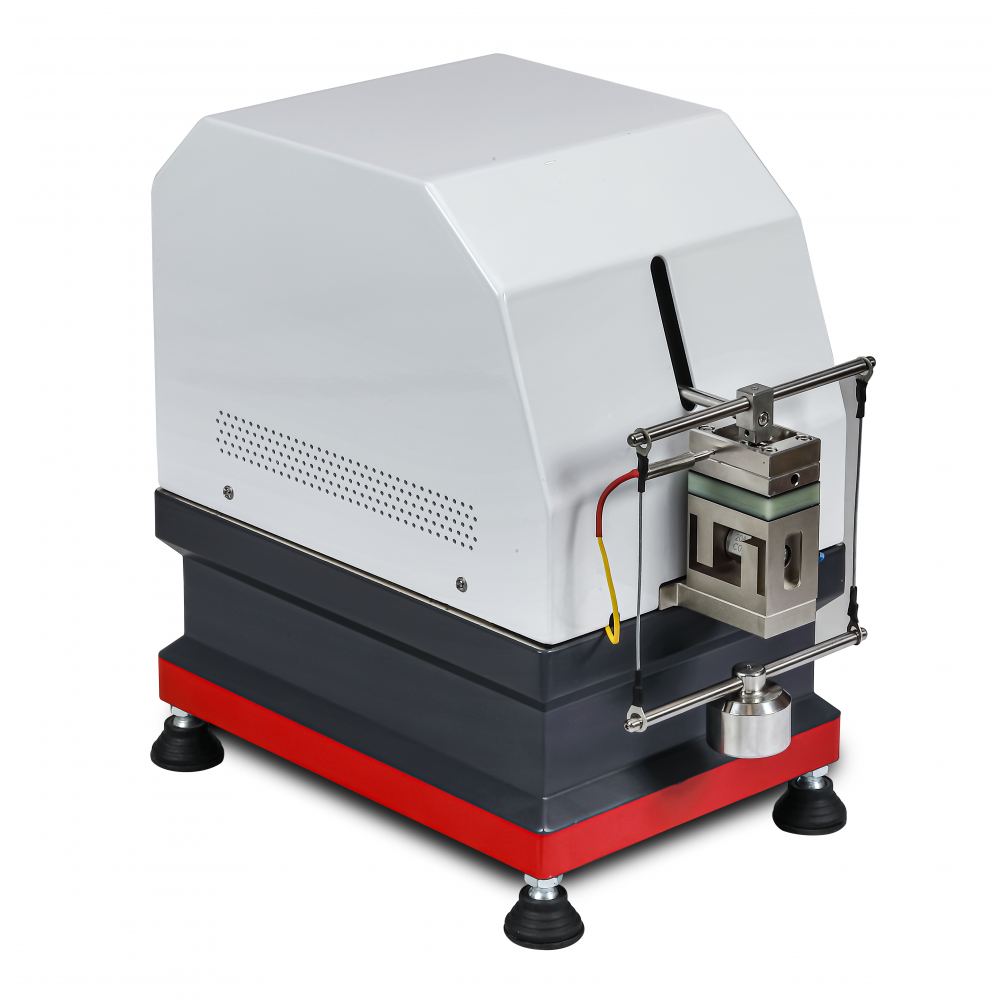
For evaluation of the lubricity of diesel fuels using a high-frequency reciprocating rig (HFRR). A 2-mL test specimen of fuel is placed in the test reservoir and maintained at 25 or 60°C. When the temperature has stabilized, a vibrator arm holding a non-rotating steel ball and loaded with a 200-g mass is lowered until it contacts a test disk completely submerged in the fuel. The ball is caused to rub against the disk with a 1-mm stroke at a frequency of 50 Hz for 75 min. The ball is removed from the vibrator arm and cleaned. The dimensions of the major and minor axes of the wear scar are measured under magnification and recorded.
- Conforms to ASTM D6079 and related specifications
- Variable Frequency from 10 Hz to 200 Hz via software
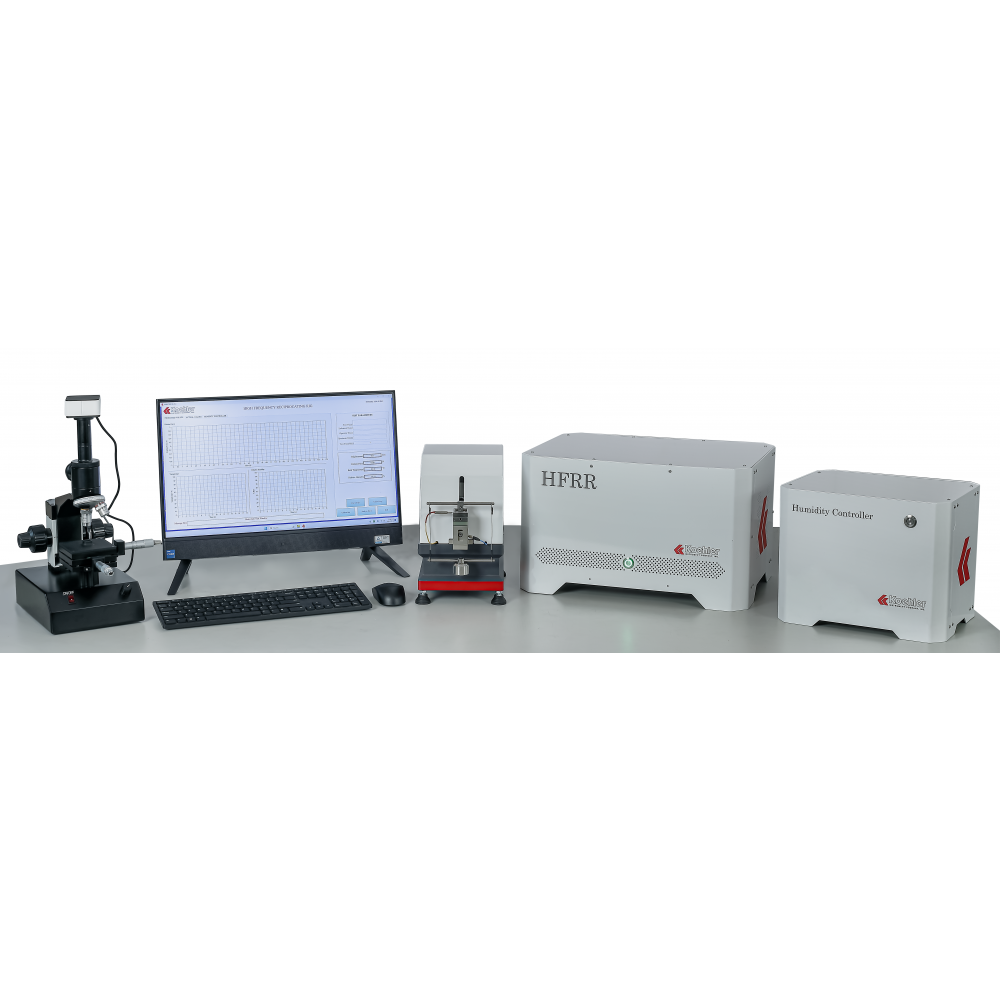
- Wear scar measurement through digital microscope and software
- Real time data acquisition of frictional force, coefficient of friction and temperature
- User friendly software for operating test rig with different operating sequences
- Programmed test sequence for automated testing
- PC-based digital and data acquisition
- Fully computer controlled test sequence
- Easy on-site calibration
- Proven repeatability and reproducibility
- Rigidly built dedicated table-top rig
The High Frequency Reciprocating Rig is a versatile computer controlled apparatus for evaluation of the coefficient of friction and wear properties of materials under dry and lubricated conditions. Reciprocation motion occurs between the fixed stationery counter surface material mounted on a small lubricant bath and reciprocating specimen (ball) frequency, displacement, normal load are selected according to test requirement. Frictional force and coefficient of friction are measured with an electric sensor and data will be acquired, compared and analyzed through Data Acquisition Software. The oscillating motion is generated by a voice coil actuator. Frequency and displacement are controlled with an electronic closed loop system. Displacement frequency can set and read through a PC with software. The specimen holder is mounted on a flexure which is stiff in the vertical (loading) direction, but offers limited resistance to horizontal force movement to the horizontal direction. The Electric Force Transducer converts mechanical quantities, such as force, directly to an electric charge and is proportional to the force acting on the quartz crystal in the sensor, which is specified in the PC. An accelerometer is mounted on the output shaft of an electro-dynamic shaker which measures the displacement accelerometer and utilizes the spring mass system for generating a force proportional to amplitude of the input accelerometer to the base of system.
Conforms to the Specifications of:
ASTM D6079, D7688; ISO 12156; IP 450; EN 590; CEC F-06-A
Contact Geometry: Ball on Plate (Point Contact)
Stroke: 20 microns to 2 mm
Frequency: 10 Hz to 200 Hz
Test Load: 1 N to 10 N through dead weights
Frictional Force: 0 to 10 N
Temperature Range: Ambient to 150 °C
Test Disc Size: 10 mm dia. x 3 mm thick
Test Ball Size: 6 mm diameter
115V 60Hz, Single Phase
230V 50/60Hz, Single Phase
- K93450-1 Test Plates and Test Balls (100 Pieces / Ea)
- K93460-2 Digital Microscope for Wear Scar Measurement External PC required for wear scar measuring and capture
- K93495-1 ECR - Electrical Contact Resistance
- K93495-2 Ball Holder
- K93495-3 Calibrated Weight, 200 g
- K93495-4 Humidity and Temperature Probe
- K93495-5 Thermocouple
- K93495-6 Humidity Controlled Cabinet - Custom built to fit the HFRR


